Using Augmented Reality for Museum Exhibition
How we used Augmented Reality to overcome the limitations of our exhibition

Overview
During the summer internship at Cortina Productions, eleven interns, including myself, had the company as a client and were asked to deliver an exhibition that utilized the latest technology. The team of two designers, two programmers, and seven producers worked the month of July to create the deliverable from scratch.
For this project, I first provided the team with technical and aesthetic resources as we brainstormed and calculated the experience I want the audience to get during the exhibition. Besides, I was in charge of designing the augmented reality app including layout, components, and graphic assets. I also communicated extensively with producers and programmers using various prototyping tools and services to continue the discussion.

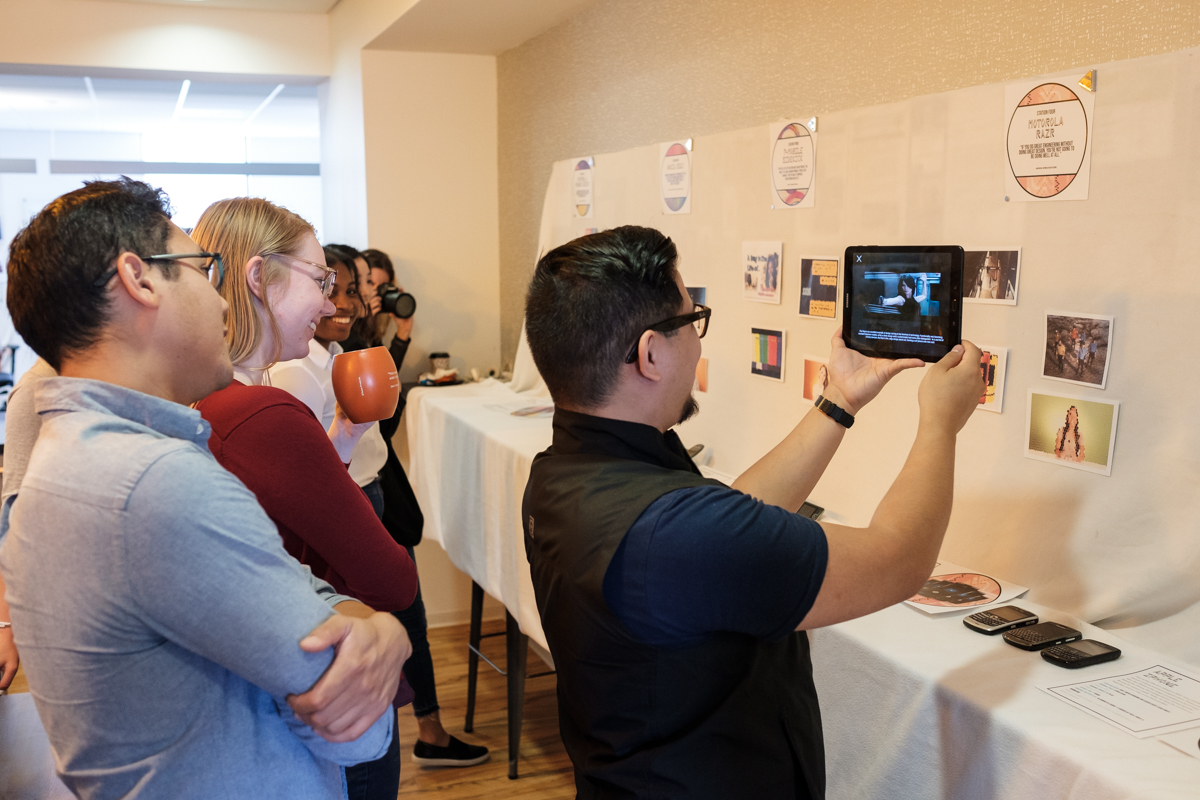
The final demonstration of the intern project, “The Future Is Calling”
Result
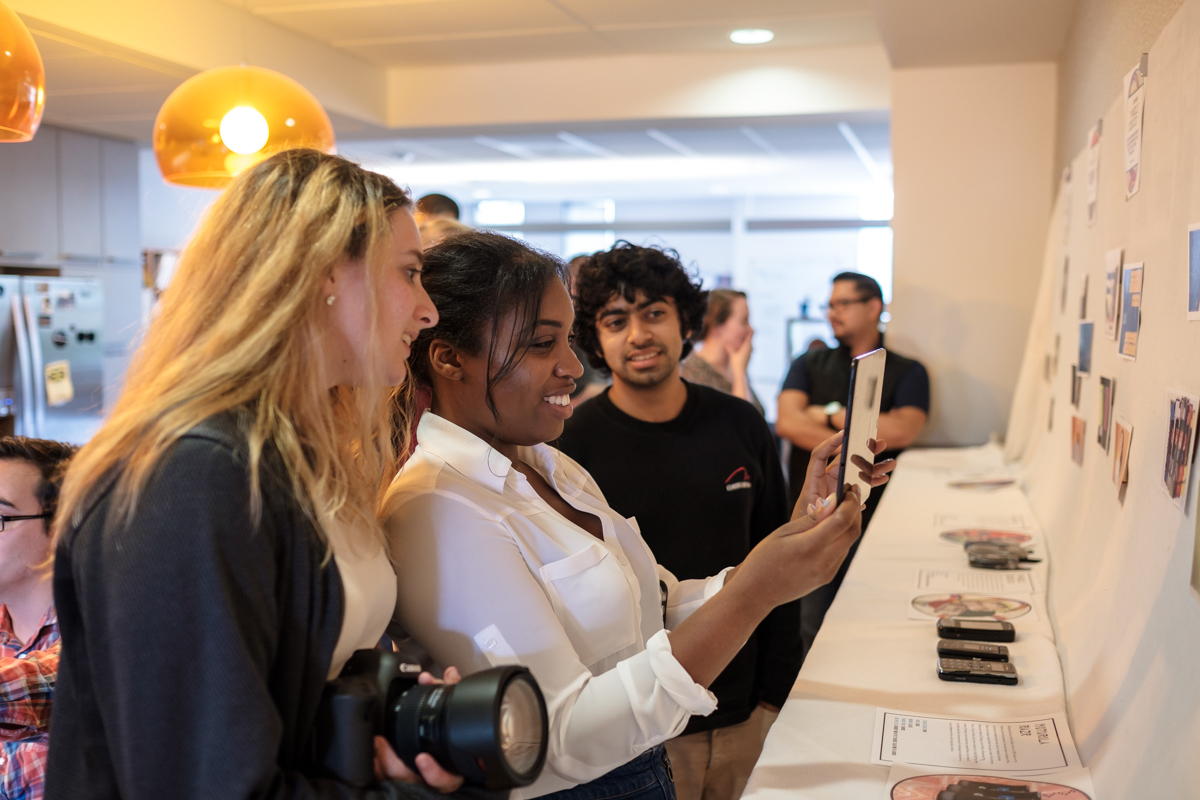
Despite limited and accelerated timeline, we were able to deliver the exhibition including the fully-functioning app for the augmented reality experience. Our clients loved the deliverable, and our colleagues spent a long time looking through different contents we prepared and rolled back to old memories as they went through each station.
Early Phase
After discussing what we want to create for our client, we decided to talk about the evolution of the communication device.
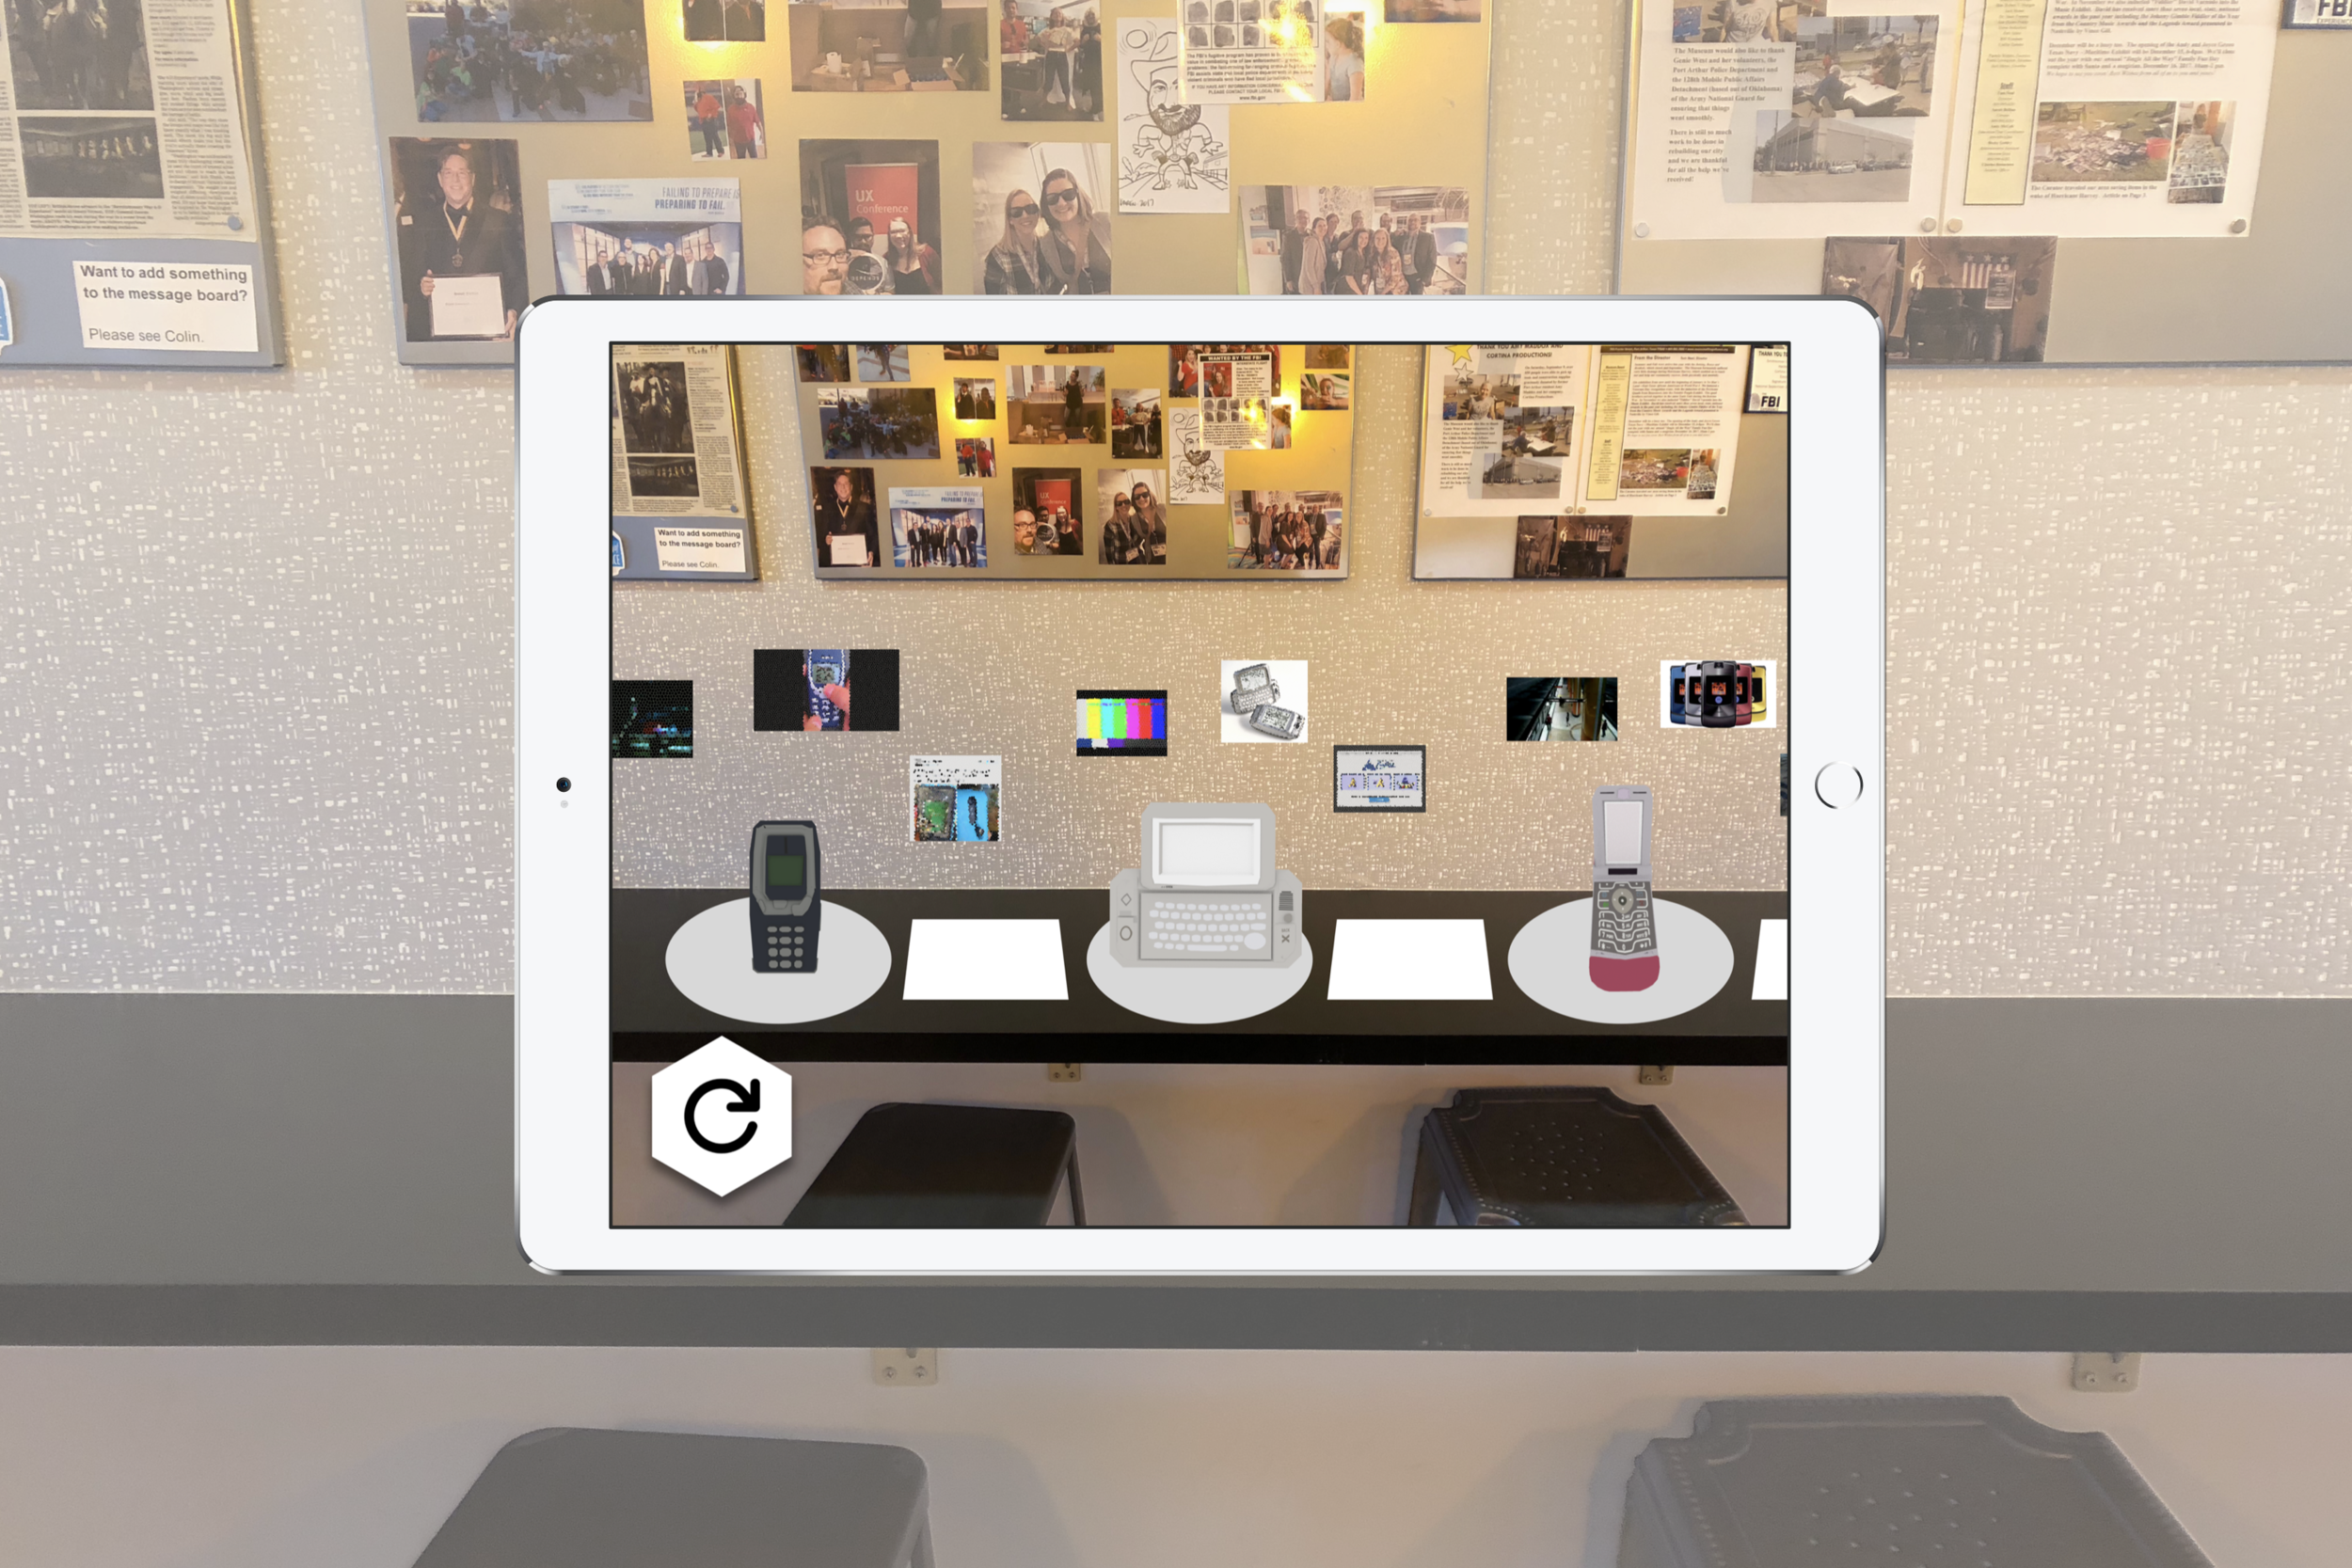
While we wanted to have historical communication devices for the exhibition, we know finding historical pieces would be time-consuming and out of a budget. Therefore, We chose to display virtual objects instead using an augmented reality application on a tablet. To emphasize empathy, we decided to find contents related to each device that could bring flashbacks and use those as anchors for the app.
After deciding our basic concept, I listed a few key points for our exhibition:
1. We should expect the audience to hold the tablet during the demonstration. Therefore, the duration should be within 10 minutes.
2. I wanted to make sure we still deliver essential information about the device without the tablet. Hence, we spent time evaluating what to display physically and what to include on the app.
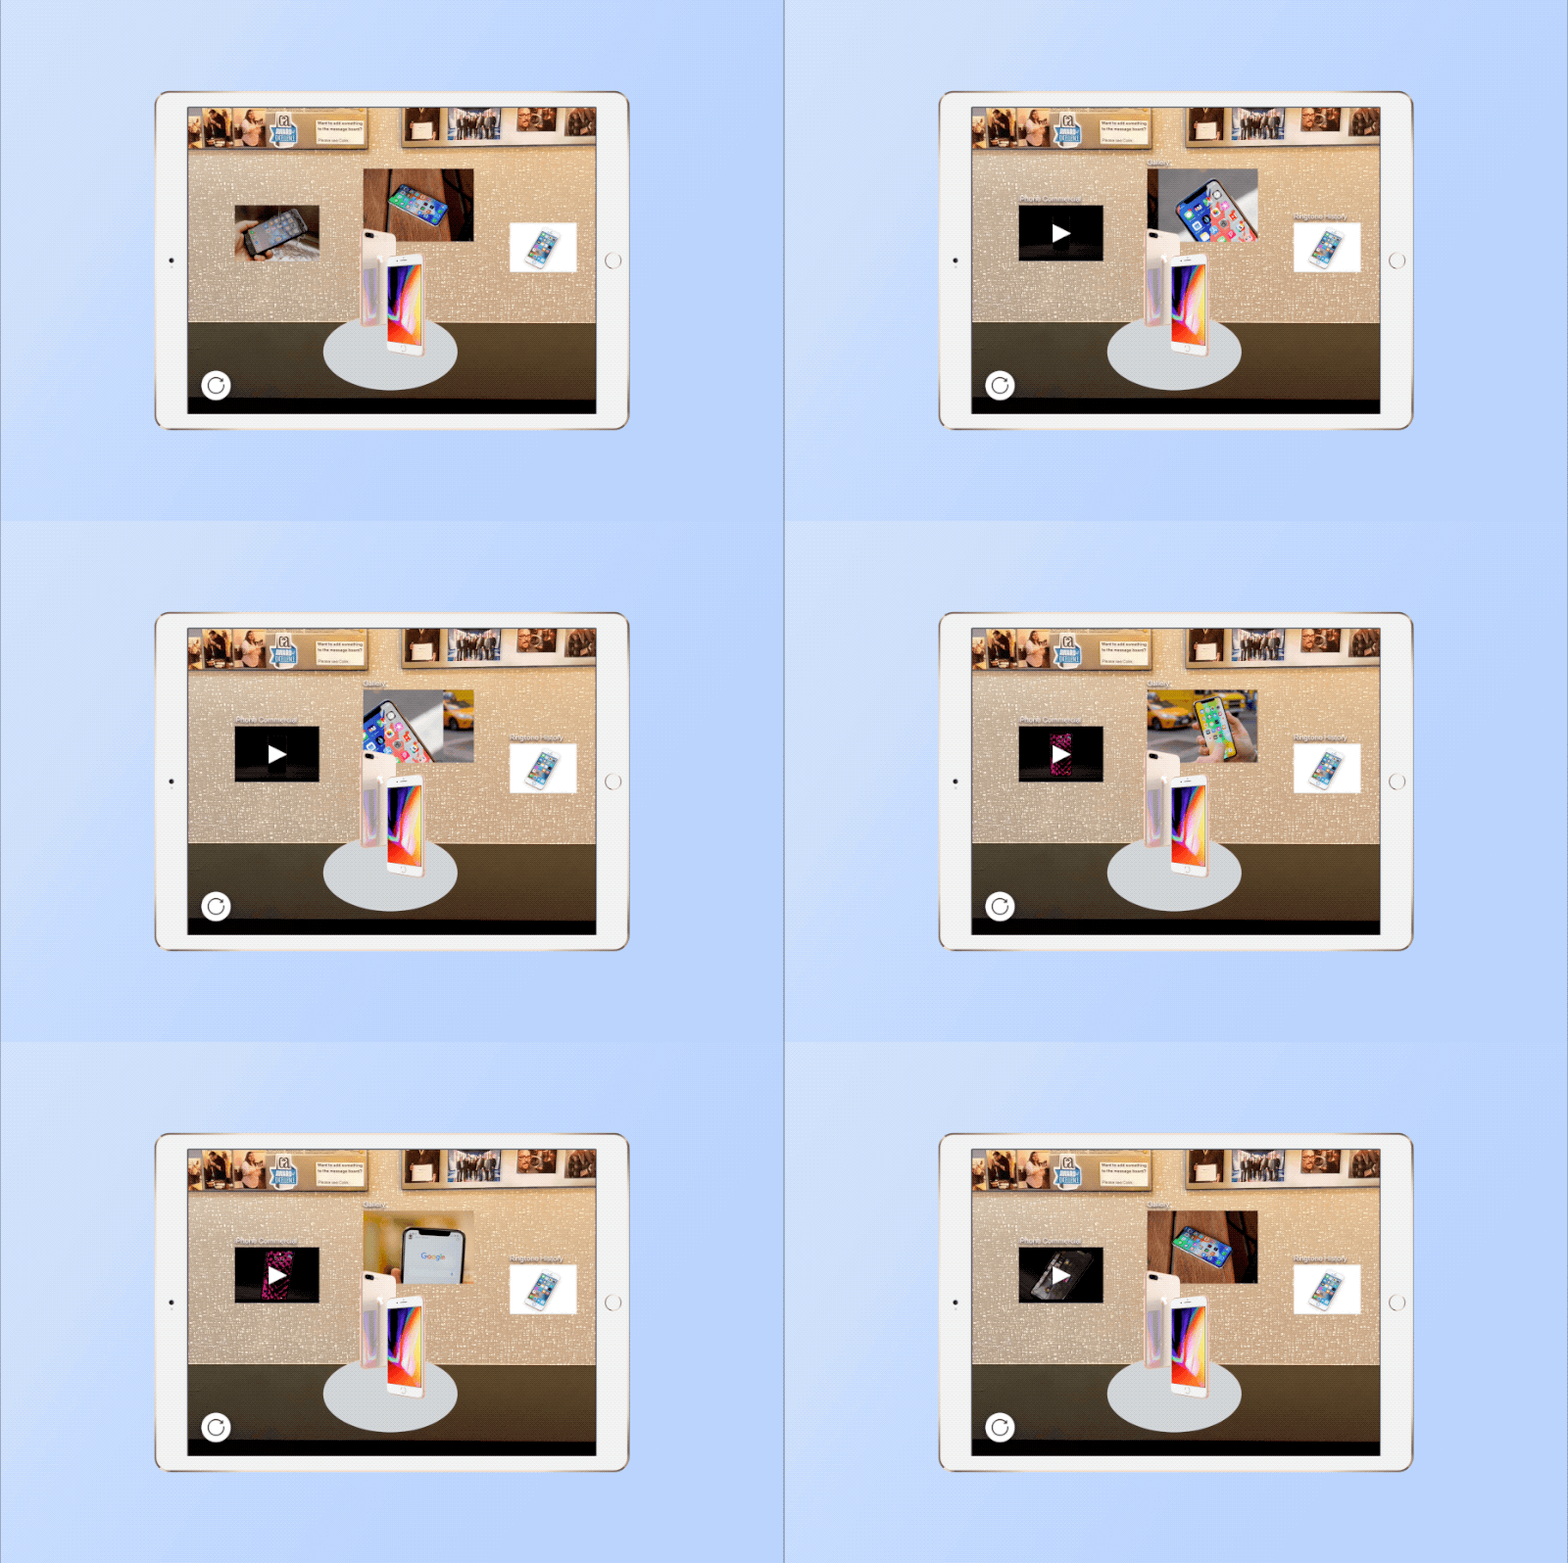
Designing the augmented reality app
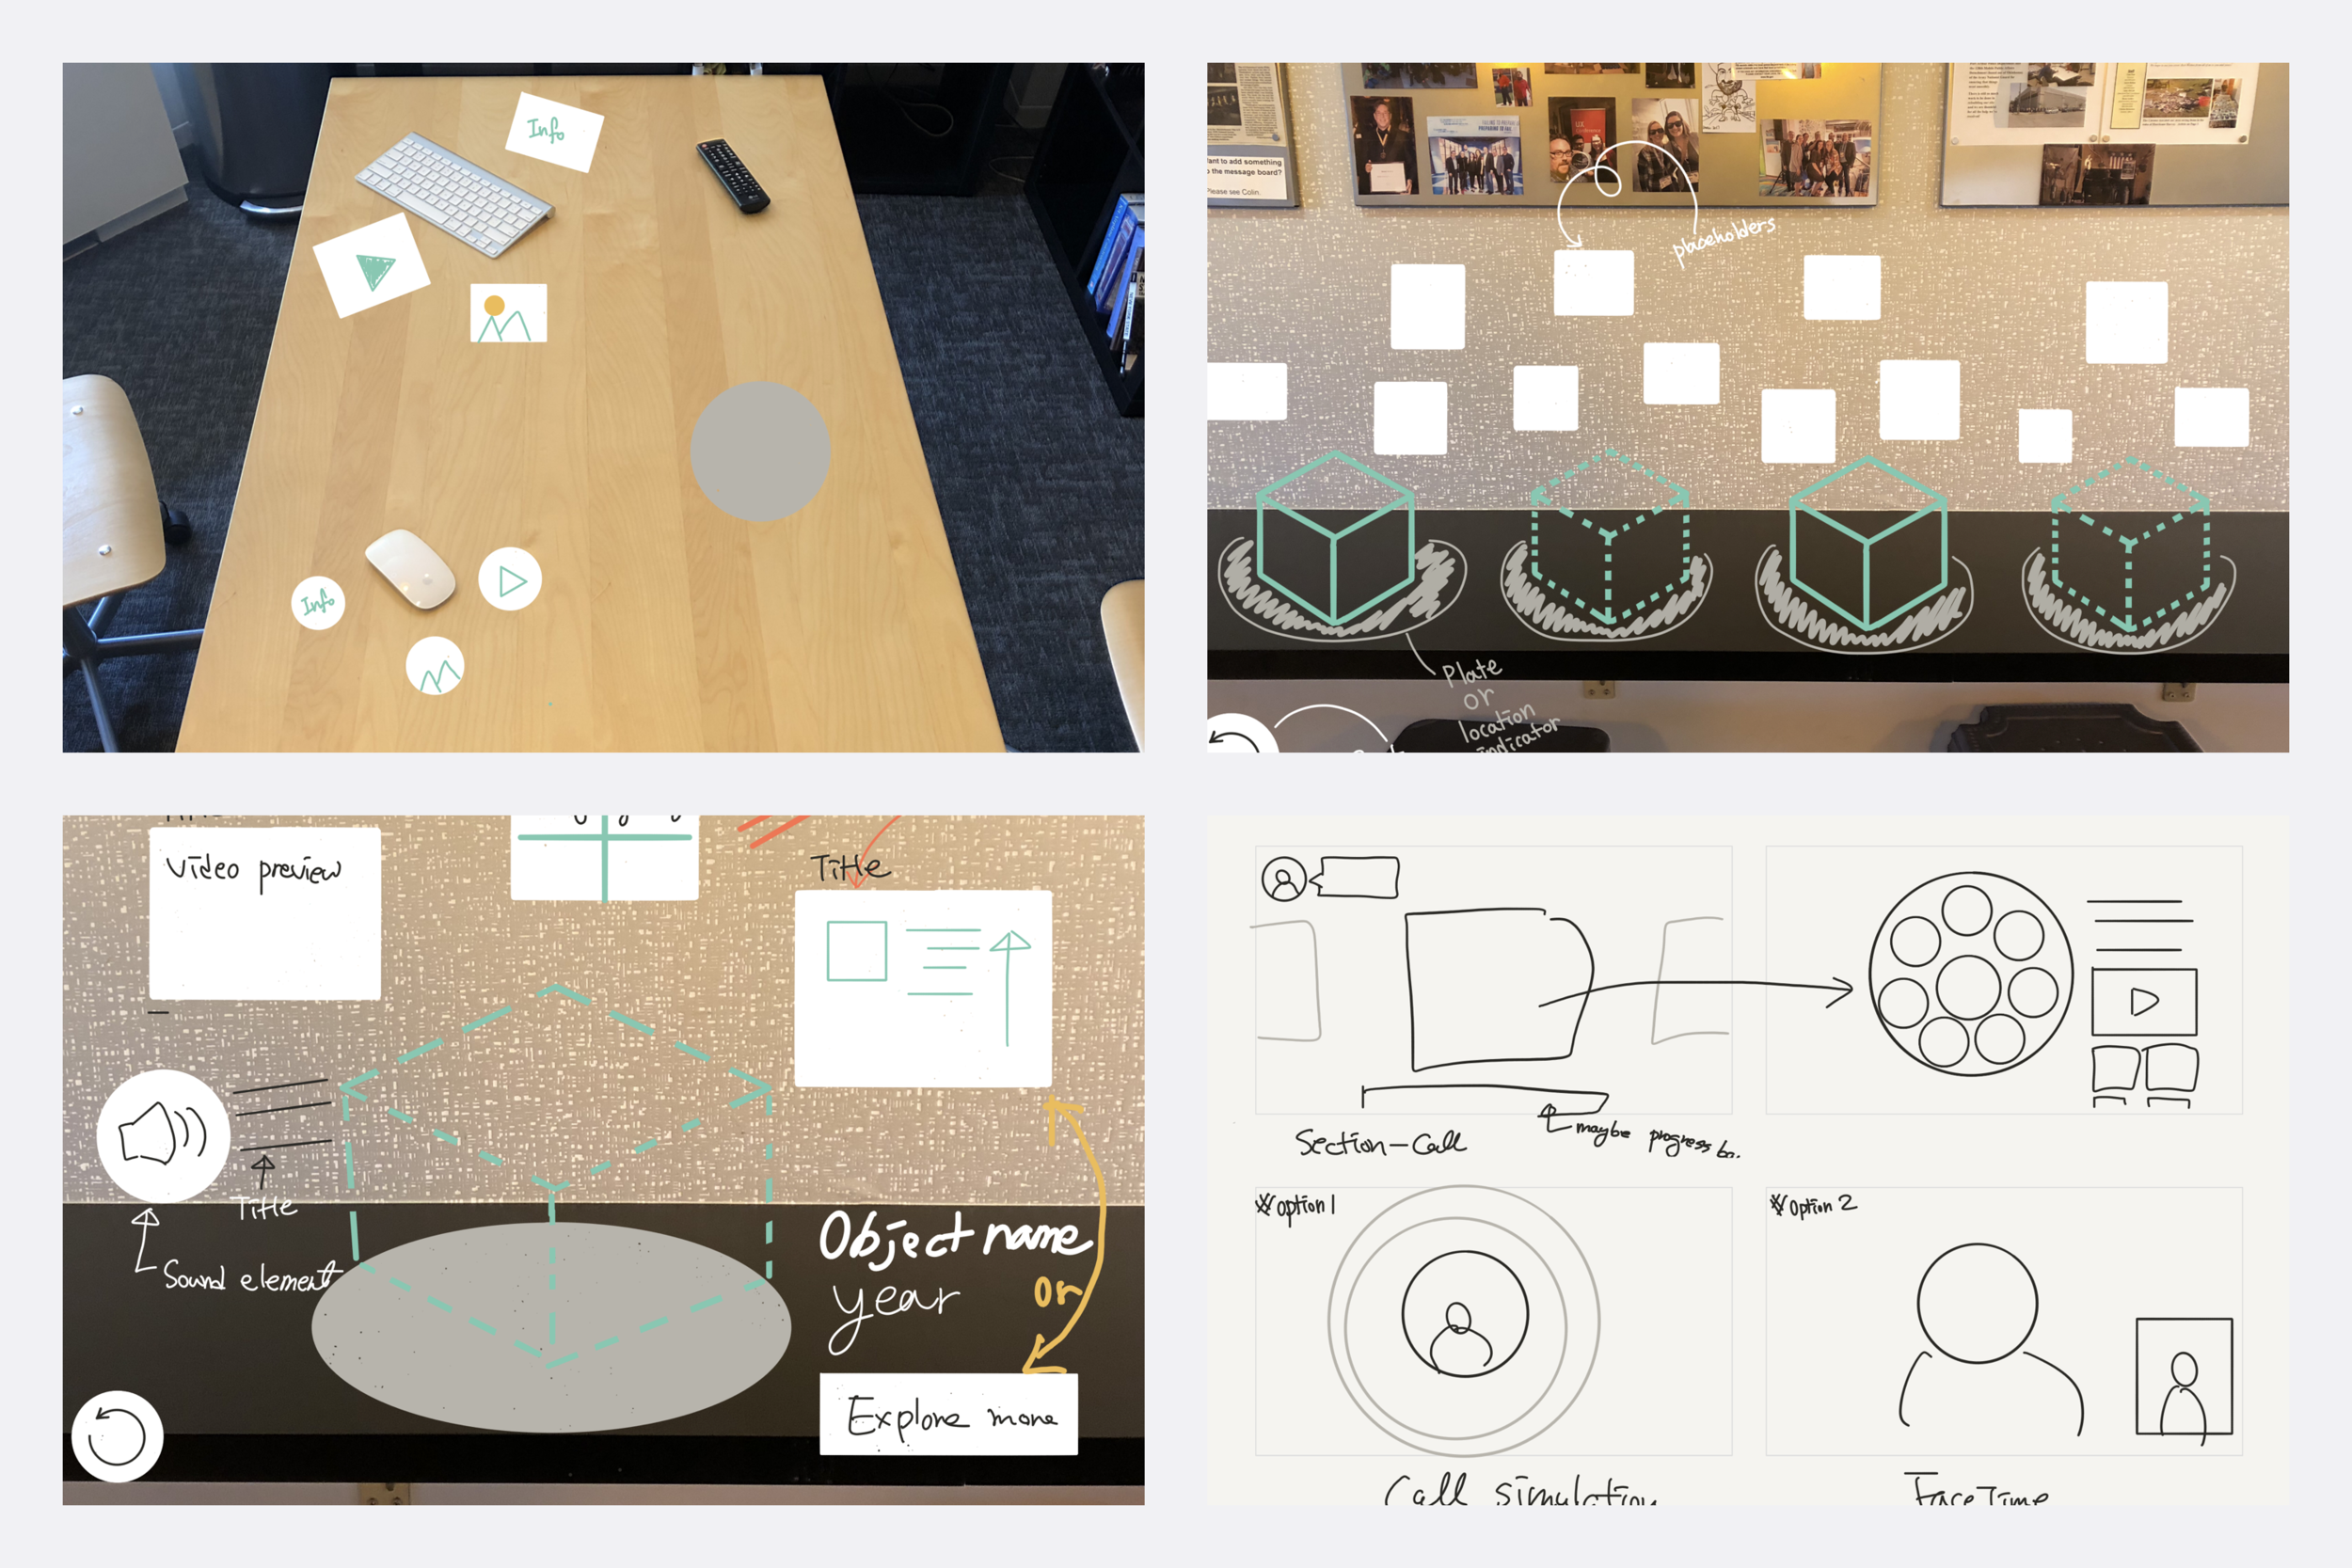
As I started working on the app design, I instantly realized the prototype should be vastly different compared to my previous work to communicate with my teammates and the client. For the low-fidelity prototype, I drew on top of the image of the exhibition location. As I got into details such as animation, I first shot a panorama image, then used a prototyping tool that can utilize the hardware gyroscope sensor so I could add UI elements and be able to move around the tablet just as the final exhibition.
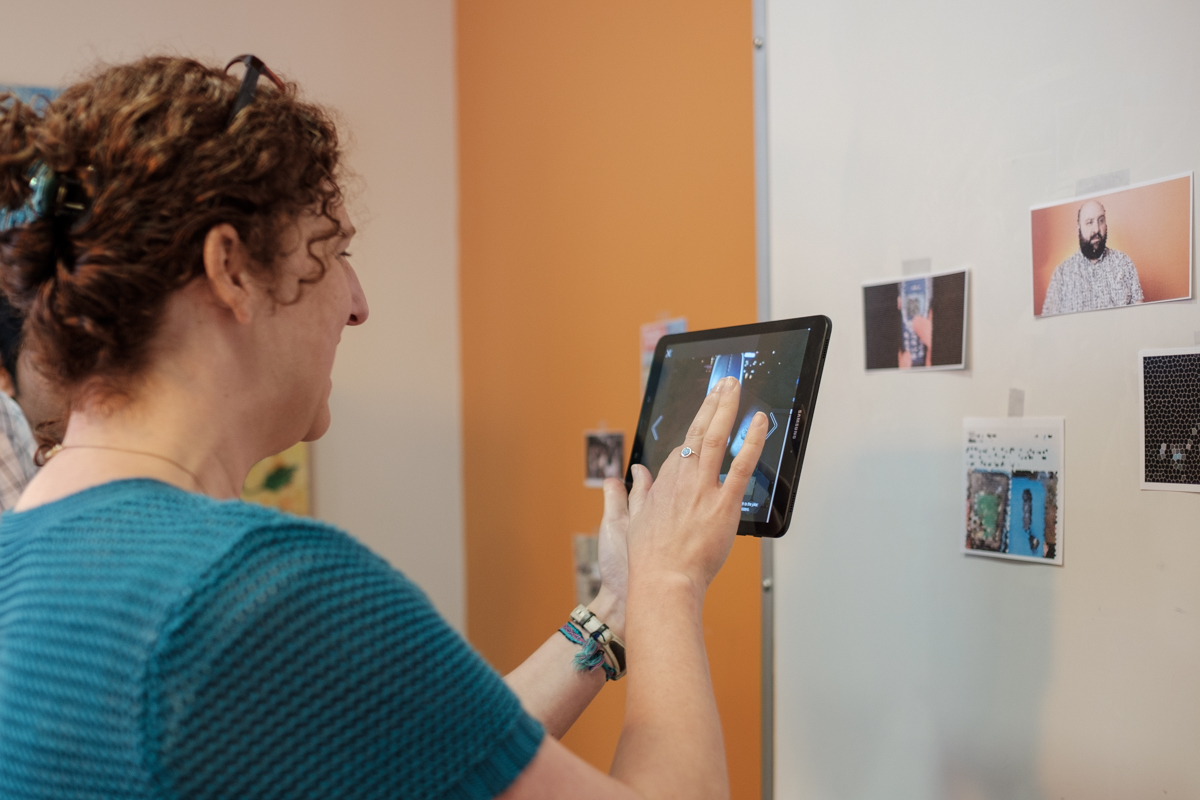
Communication
Communicating with producers was a new challenge for me while I was used to doing the same with programmers. One issue I instantly found was a different term we use. I spent some time learning those to solve this issue. Also, as they were doing research, I started getting excessive content that could destroy the design structure. I addressed this issue by going over the design guidelines again and creating do and don’t reference for them. For delivering the look and feel of the application, I used Zeplin for design guidelines and ProtoPie for a prototype to visually represent my ideas.
I used the similar methods to deliver progress reports to the client as well. Visually representing our mockup was very productive and was able to gather detailed feedback.
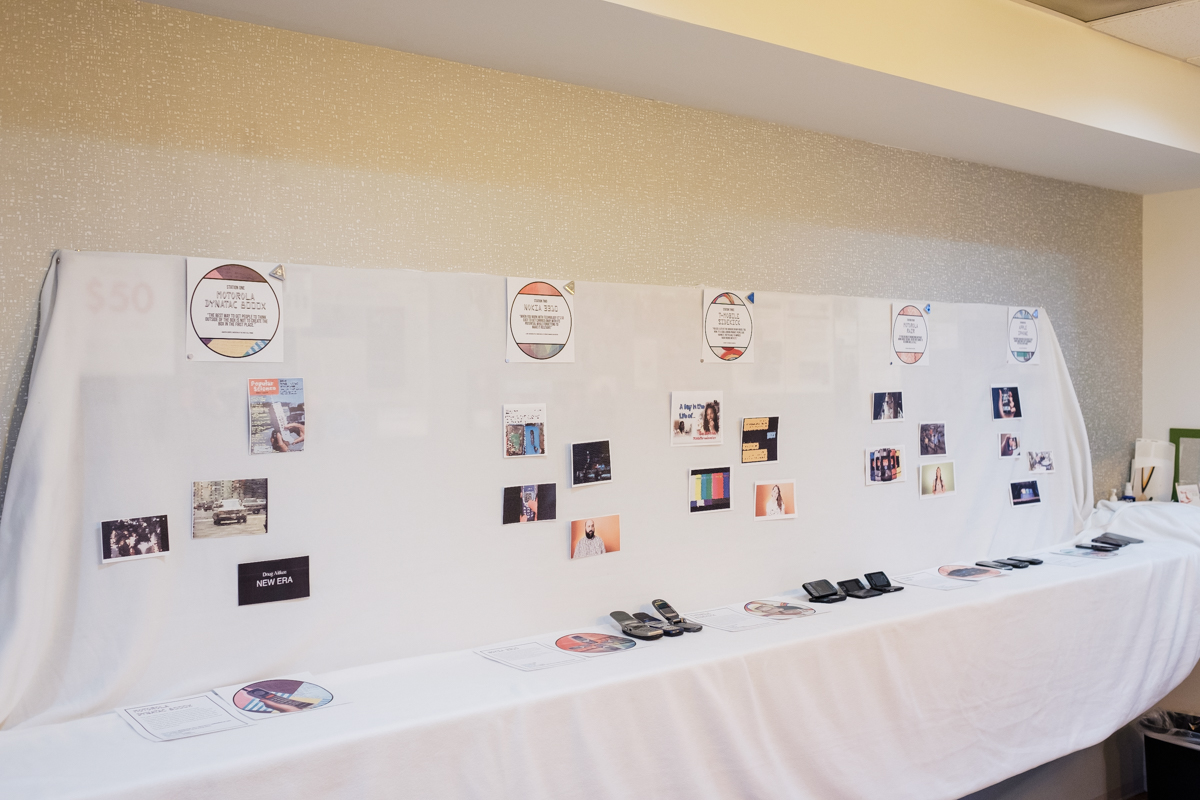
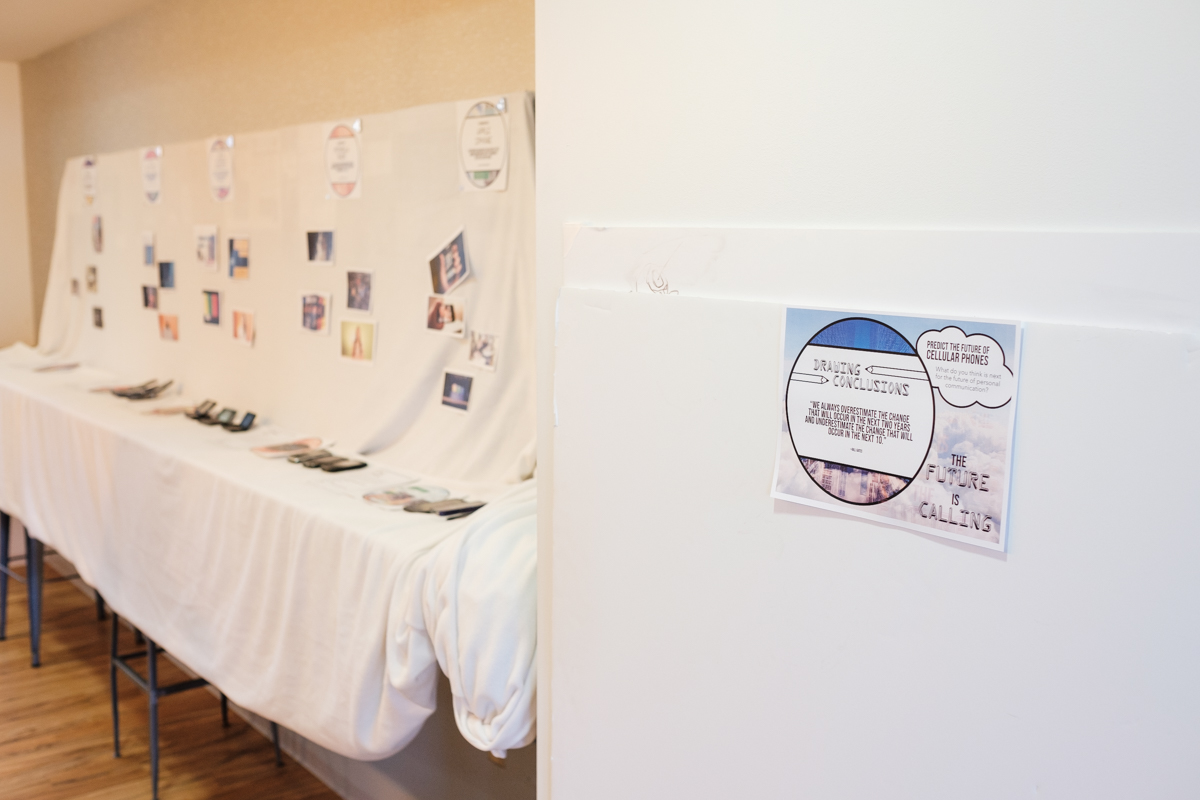
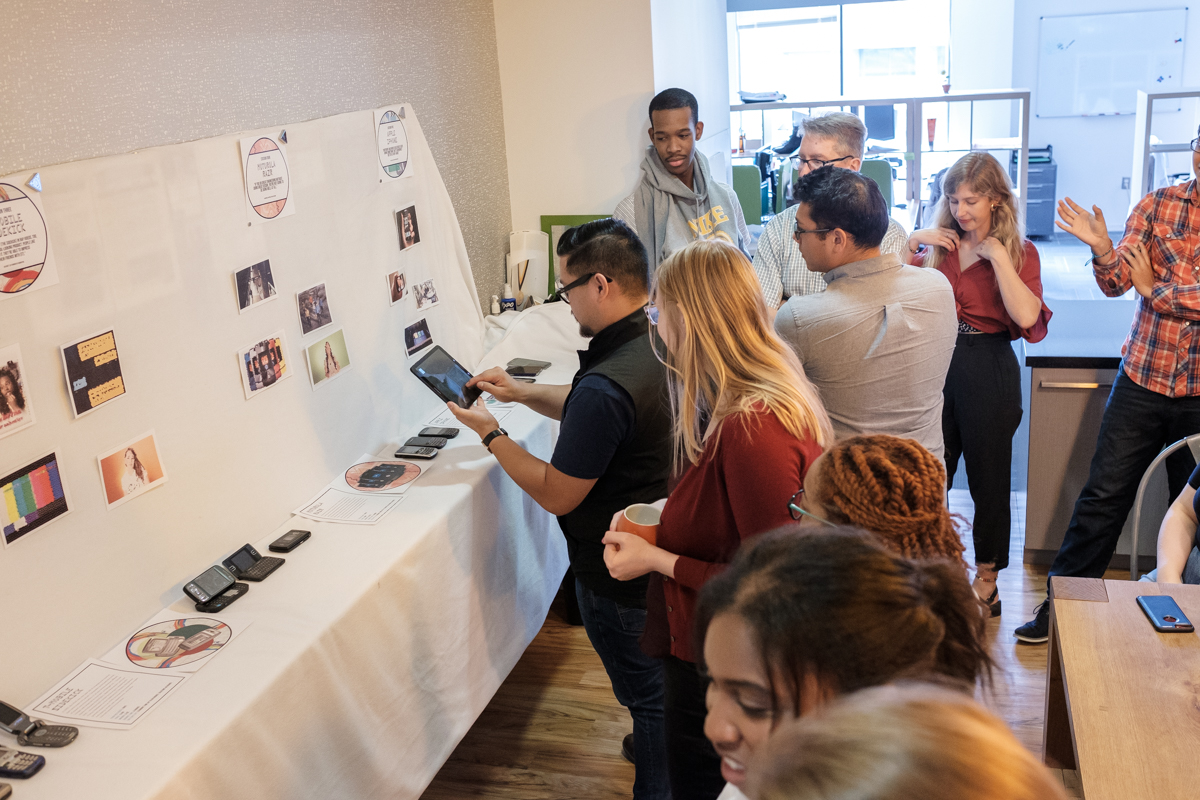
The Exhibition
Despite we were in a very tight schedule to finish the project since we only had a month and time restriction not to influence the company work, we were able to demonstrate the main features of the exhibition.
There are final interactive components we placed:
A communication device anchor: We created a specialized anchor that the app can detect to bring a virtual object when pointed with the tablet.
Information panel: While the main features are only available on the tablet, we offered this to provide the necessary information about the device even without the tablet.
Content anchors: Just like the first one, we created the abstract version of each content anchor per client’s request. The audience can point the anchor using the tablet, see the overlay content, and tap it to zoom and learn more about it.
Drawing area: At the end of the exhibition, we asked the audiences what the future communication device would look like, and they could bee others' drawings and add their own by pointing the tablet to the anchor.